
Kelli Swan on How to Draw with Pencil
How to Draw - Questions About Pencil Drawing
I am often asked what kind of pencils I use. Selecting pencils for drawing is a matter of personal perfence of course, though I have written an artile on the subject on my blog: the best pencils to use for pencil drawing.
Another important aspect to creating a top quality pencil drawing is the paper. There are many types of drawing paper, and choosing the one right for you will be important in yielding the desired effects. See another of my blog posts on: How to Draw - Selecting Your Drawing Paper.
The Stages of a Custom Pencil Portrait
 When you order a montage pencil portrait (one with several images put together, in a layered approach), I ask that you supply as many quality photos of different angles as possible. This will allow me to create the best possible portrait for you. Once I have the photos, I begin with sketches of the subjects. The process includes exploring a number of layouts and approaches to the portrait in order to best convey the feeling of the subject(s) involved. Final rendering time is the longest phase and can require many hours to complete. Care must be taken to quit early so as not to overwork the drawing!
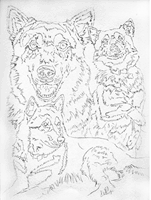
Beginning the montage portrait - exploring different layouts:
The sketches below are examples of what a portrait customer receives prior to my beginning a montage drawing. When you request such a special piece of artwork from me, I take the photos you supply and come up with 2-3 layouts that I think will work well as a pencil drawing. These layouts are then sent to you as email attachments so that you can pick your favorite. I then begin the final rendering work.

Rendering the final pencil portrait:
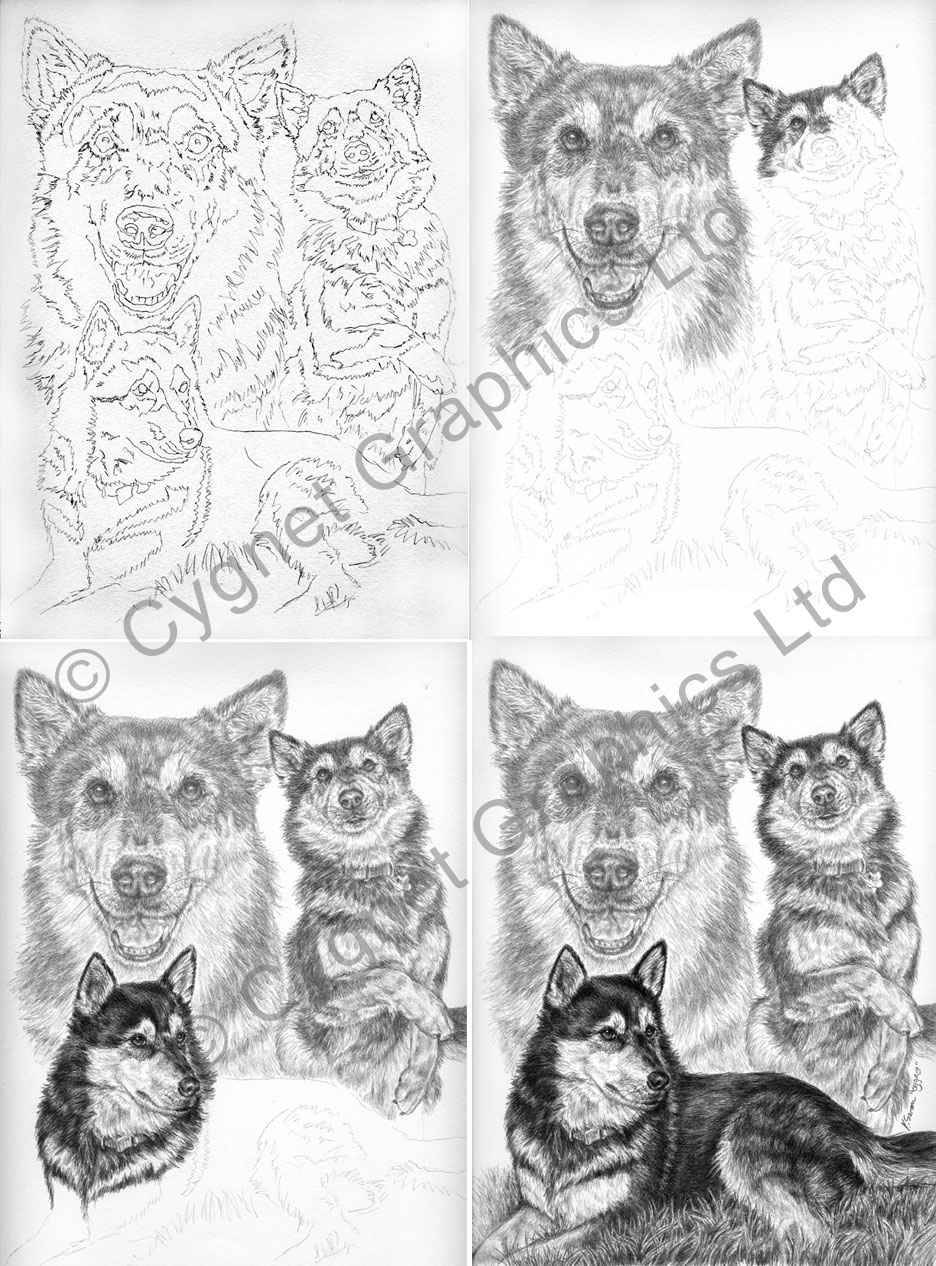
The samples above illustrate the typical progress of my custom pet portraits. I start with the line sketch that my customer has chosen and then transfer that to the final drawing paper - high quality, acid-free, Strathmore 500 paper. I then work for the most part from upper left to lower right, rending the lighter/background images first. After the entire drawing is mostly complete, I set it aside for a day or two so that my eyes and mind have a break before applying the finishing touches.
Many people ask “How do you keep from smudging the pencil?” I have learned over the years that great care needs to be taken to protect the drawing from smudges. This includes covering the piece anytime I am not actively working on it. I also wash my hands and arms frequently, to remove surface skin oils so that they don’t taint the paper. In addition, I keep an acid free sheet of paper covering any area of the drawing I am not working, and especially under my right (rendering) arm. Acid/oils from the skin can ruin a drawing in no time at all!
I find the biggest challenge in working on black and white drawings is in deciding when they are done - and not over-working them. When contrast and detail are your only options for creating punch (as opposed to having colors to do this work), it can be tempting to add and add to a drawing. Beyond a certain point however, adding can create a big mess of dark mud! Best to quit a little early, or walk away for awhile to decide if the piece truly needs more.